Vintage Tool Box

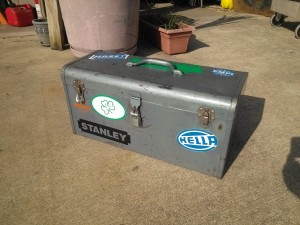
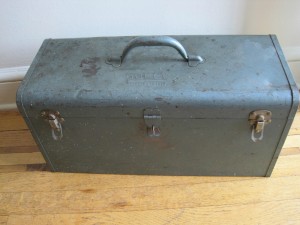
In my visits to various VW Car Shows, I have noticed that a lot of people have vintage cooler, gas cans, oil cans, etc., with their cars. Knowing that with a 40 year old air cooled car I will need to carry some tools with the car, I decided to find an old tool box. After searching on ebay for a couple hours (you would be surprised how many old tool boxes are available at any given time), I settle on this old metal tool box…

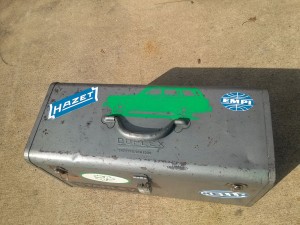
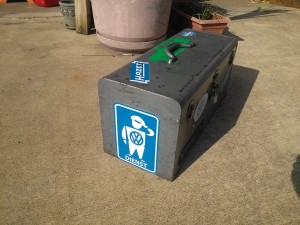
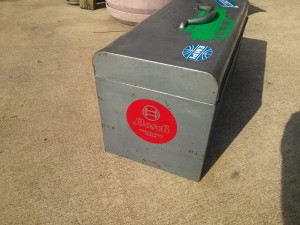
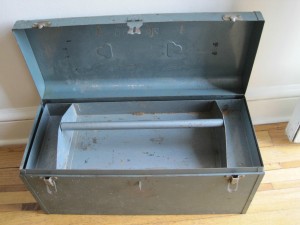
I really liked the tray design of this one because of the two smaller section at the ends. After placing a bid, I won the auction and the tool box was on the way to me. Once it arrived, it required a lot of scrubbing with a SOS pad to clean it up and then it was time to personalize it a bit. After some work with my vinyl cutter, here is what I have…

Back to the Car

I realize that my last few posts did not have much to do with the actual car. So here is a recap of the project thus far…

Pulled, disassembled, cleaned, reassembled, and installed motor.

Repair/Replaced braking system components.

Repair/Replaced suspension components.

Most of the driver’s side bodywork is completed.

I had already started the motor a few times in the past month or so, but have never had the car move under its own power.

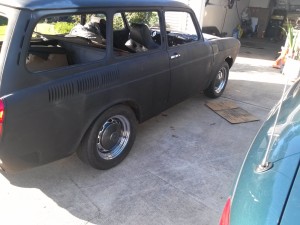
Well, after pushing the car into the driveway and installing the new hubcaps, I got a little gleam in my eye. I started the motor, pushed the clutch in, moved the shifter to 1st and slowly let out the clutch. The car then pulled into the garage and actually stopped when I pressed the brake pedal. With a grin, I put the car in reverse and backed back into the driveway.

My wife then jumped up and moved my daily driver out of the driveway and off we went. The Squareback drives!!!!!

New Look Wheels

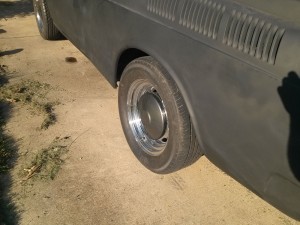
The wheels on my Squareback, as I got it (not sure if completely stock or not), are chrome Mangels  with chrome hubcaps. I have seen several photos of VWs with the same style wheels painted the color of the car and chrome hubcaps. I wanted to do something different. I wanted to do the reverse, chrome wheels and colored hubcaps.

Wanting to refinish my hubcaps, I began cleaning them up and attempting to strip the chrome off. I was able to clean the outside portion of the hubcaps up rather well, however, there was some rust on the inside portion. Considering how inexpensive replacement hubcaps are, I ordered a full set. I then dropped the new hubcaps off at It’s Not Paint powdercoating in Huntsville.

My original plan was to have the hubcaps powdercoated in “Black Chrome”. I later found out that “Black Chrome” is a proprietary color only available from one vendor, which INP does not have. However, they were able to use a process that emulates the color. When I picked up the freshly recolored hubcaps, I noticed that they appear a little more grey that I had expected. However, this more of a grey look actually gives me a reason to incorporate some grey into my interior.

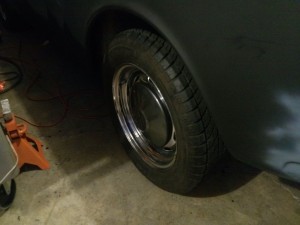
As soon as I got home, I slapped the front wheels on the car, brought it down off of the jack stands and rolled it into the driveway. Here is how they look….

They are actually very shiny and appear darker in person. I actually like how they turned out better than an actual “Black Chrome.”

Vintage Gas Tank for a Vintage Car

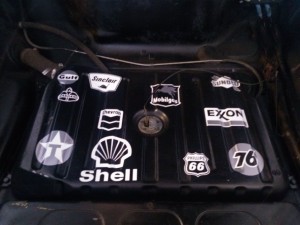
Playing some more with the vinyl cutter got me thinking. Remembering how people would place stickers from various destinations all over their luggage, I began following that concept for my gas tank. As best I found find, these are all gas station logos form the correct era of the car…


However, once the car is finished, this will all be under carpet. Oh well, I will know it is there.

New Old License Plate Frame

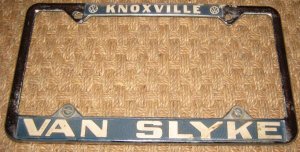
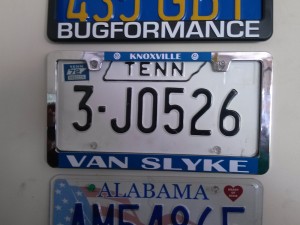
When I first got the car, I realized that it was purchased at Van Slyke Volkswagen in Knoxville. I have already mentioned how cool that is to me. I began looking on the internet for items from the original dealership and found an image of a license plate frame. However, I have been unsuccessful in finding one. Since I have a vinyl cutter, it was time to create my own frame…

The original is on the left and my reproduction on the right. On a side note, that is actually a 1972 Tennessee tag designated to Knoxville.

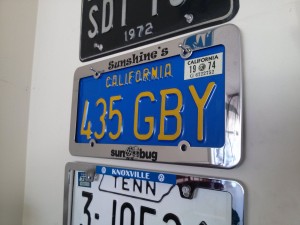
In addition, I created one that will eventually find its way onto my wife’s 1974 Sun Bug.

Fun with Vinyl Cutting

Aside from the actual car project, I got another toy, a vinyl cutter. It is not completely outside of the project as I can make stickers for the car. The air cleaner assemble has a good amount of text on it. I had taped over the text and repainted the entire assembly black, then removed the masked area to show the original text. However, I am not completely happy with it as you can tell the old areas apart from the freshly painted areas.

My thought was to use a vinyl cutter to recreate the text. I could then spray the assembly orange, place the stickers on and respray black. Then once I remove the stickers, the original looking text would be displayed in new orange paint. As it turns out, the text is really too small to be able to cut out, so I might alter the design at a later date. However, there are several other cool things that I have  been able to do with the cutter.

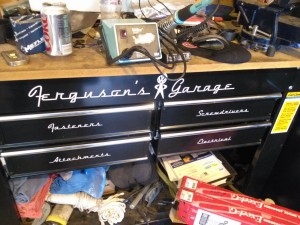
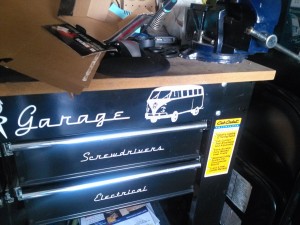
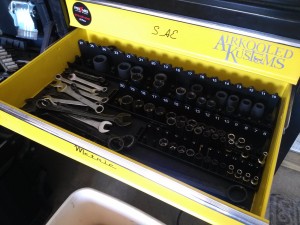
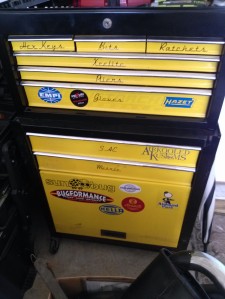
One of the cutting projects was to label the drawers on my tool bench and tool box.


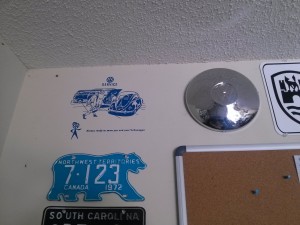
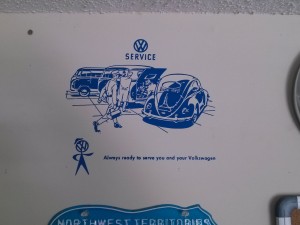
I then moved onto adding some more wall art…

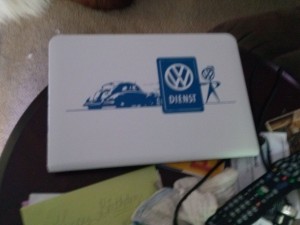
That last picture is actually the lid of my laptop now.

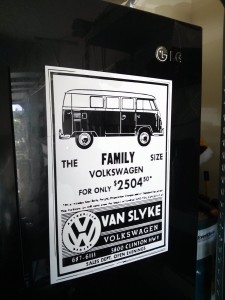
Then I started adding things to the garage fridge…

The Brakes in Life

When I was first trying to clean up the left front suspension of the car, I had removed the brake caliper and cleaned it up. I have to admit, it looked good. However, when I tightened the brake line onto the caliper, I stripped the fitting. In true accordance with Murphy’s Law, I could not get the fitting out of the caliper. No matter what I tried, the stripped fitting would just spin. Therefore, I went on the hunt for a new caliper.

I kicked around the idea of upgrading the front brake system. Since my model year Squareback shares the front brake system with a Porsche 914, I began researching what the 914 guys are doing for upgrades. As it turns out, they often upgrade to the brake calipers from a E20 series BMW. I began checking on the cost for this upgrade and then ran into problems. I found out that I would not be able to use my existing calipers for the core charge when purchasing the BMW calipers. Considering that an upgrade would require both front calipers to be replaced, in addition to some slight machining and modifications to the brake line system, I determined that I would be better off simply purchasing a replacement stock caliper and allocating money for other aspects of the overall project.

Luckily, I found that Auto Zone had a replacement caliper available (Advance and other FLAPs had zero stock nationally and no expected stocking date). A few days after ordering my caliper, it arrived. It was not until I went to install it that I noticed a problem, it was the wrong part.
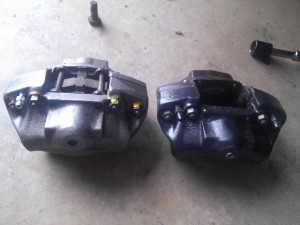
The replacement is on the left and the original part is on the right. The part that they sent, not only has only one bleeder valve, but it is on the wrong side. After researching more, I determined that the part they sent is for the passenger side and for a year older model. In addition, they had now dropped the price by $20, so off to Auto Zone I went. After another parts order and a $20 refund, I had the part I needed.

Murphy, yet again, raised his ugly head. After getting everything reassembled, I noticed that my brake fluid reservoir was bad. Well, this gives me a reason to order some more parts for the car! (evil grin to my wife’s dismay) After receiving a Speedometer Cable, Brake Reservoir, Bleeder Screw Covers, and 4 new hubcaps, I had the brake system back. A routine fluid change and bleeding was in order and now the car has brakes.
 

Post-Business Trips Update

I my last entry, I mention that I was off to China for a business trip. In addition to that trip, I have had several other trips that prevented me from working on the project much. After going to Beijing and Tainjin China, I went to Los Angeles, San Diego, Las Vegas, Modesto, Sacramento, San Francisco, Portland, Seattle, Spokane, and Boise. Finally, I was able to get back to the car…

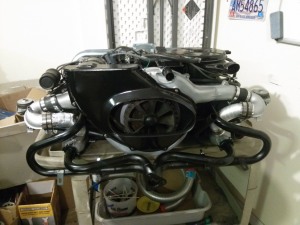
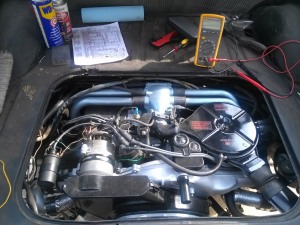
I finally got the engine all buttoned up and the exhaust/heater boxes all straightened out…

Now, time to put it back into the car…

After reconnecting the fuel system and then confirming that everyone was wired up correctly (I first reconnected all the wires where they were, but the previous owner must have messed that up), the engine fired right up! I am rather impressed with myself considering that I have zero engine experience and had this motor torn down to just the block and pistons, most of the components soaking in gallons of soapy water, repainted, and reassembled. OK, I admit, all the credit goes to the original engineering of the car. But hey, I am happy! The car runs!

Look Ma, No Trim Holes

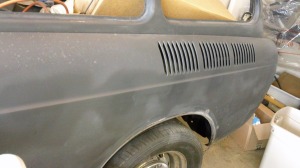
Not a lot of major updates to report. Several odds and ends type items. About the only notable progress is that I have filled in the side trim holes along the driver’s side. I simply filled the holes with Bondo. I chose this method so that, at some point in the future, if I or a different owner decide to add the side trim, the body filler will be much easier to remove than attempt to drill through welds.


Now, off to China for a business trip….


We Have a Roller!

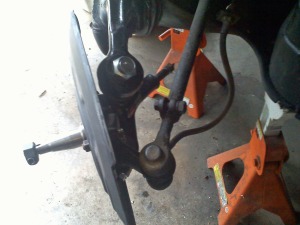
The new Ball Joints are on the spindle.

The Spindle/Ball Joint Assembly is mounted to the Torsion Arms.

The Steering Bracket and Backing Plate are mounted to the Spindle, with replacement bolts. (See Breaker Bar)

The new Rotor, Bearings, and Dust Cap are mounted to the Spindle. I had to clean and reuse the old Thrust Washer since the new one would not fit.